Get your OpenClaw AI Agent running on PC or Mac in under a minute with BlueStacks AI
Ready to run your own AI agent? This guide shows you how to set up OpenClaw on your PC in just a few minutes. BlueStacks AI Runtime handles the setup work for you, so you can install it and get started quickly.
Minimum System Requirements
Windows
- Disk Space: 12 GB
- RAM: 16 GB (with at least 4GB free available)
macOS
- Mac M series (ARM)
- Disk Space: 12 GB
- macOS 15.1 (Sequoia)
We've put together a setup video to get you going — or scroll down if you prefer to follow the steps yourself.
Setup Steps
Step 1: Download and install BlueStacks AI Runtime
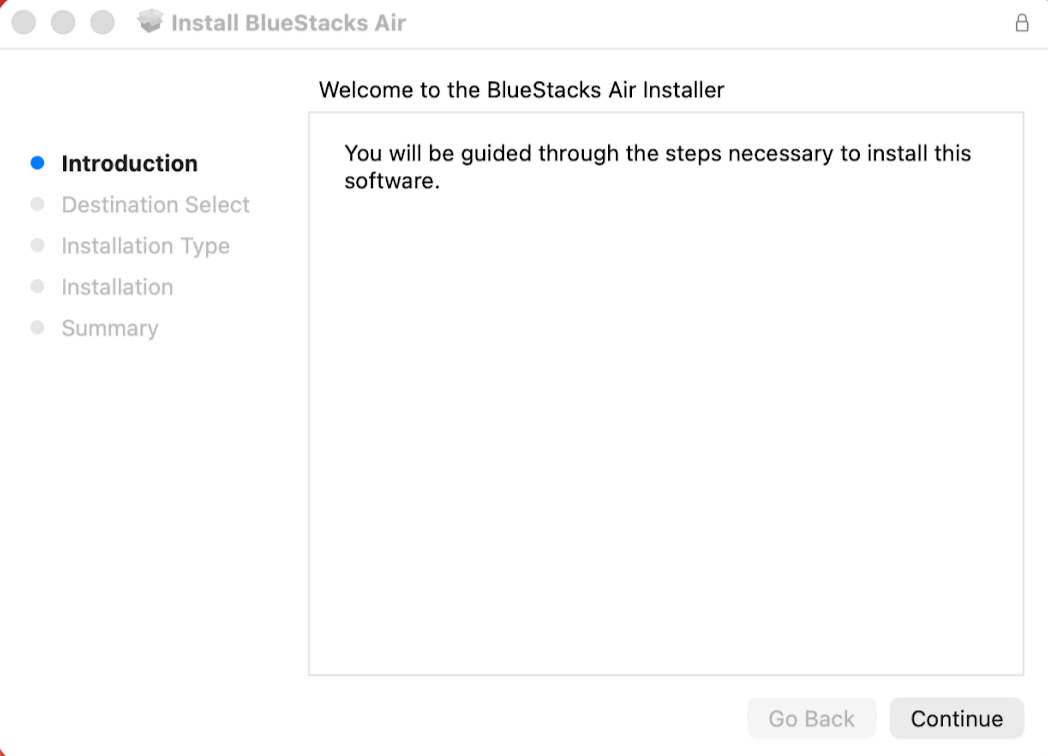
Go to bluestacks.ai, click "Download BlueStacks AI," and run the installer.
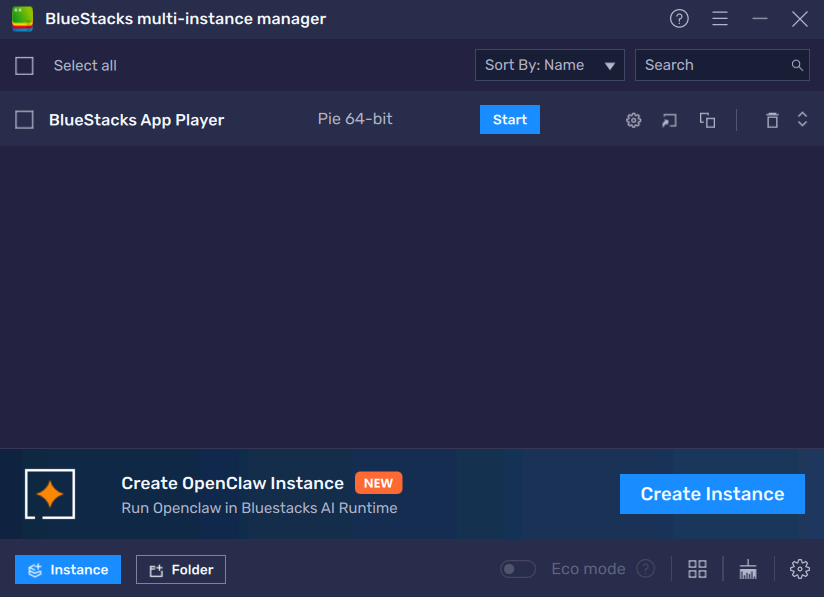
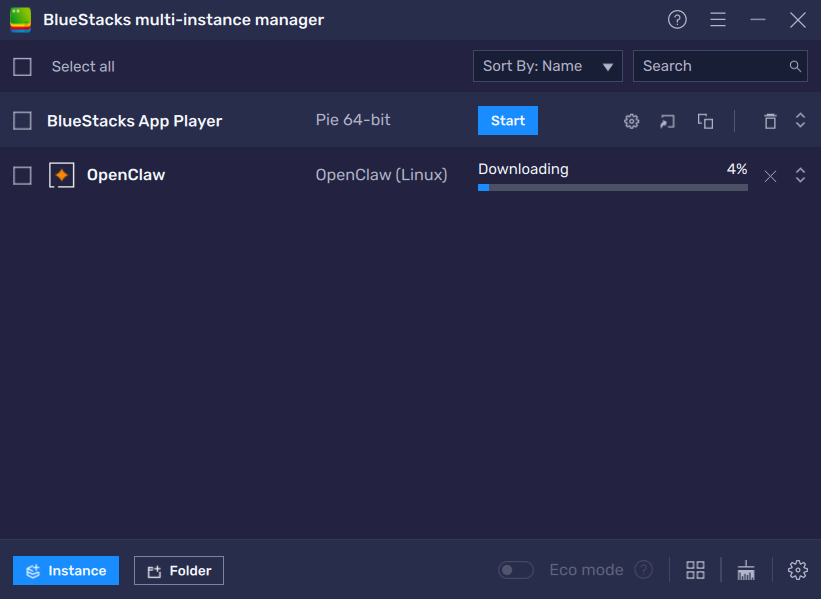
Step 2: Create an OpenClaw instance
In the Multi-Instance Manager, click Create Instance.
Step 3: Start OpenClaw
Wait for the download to finish.
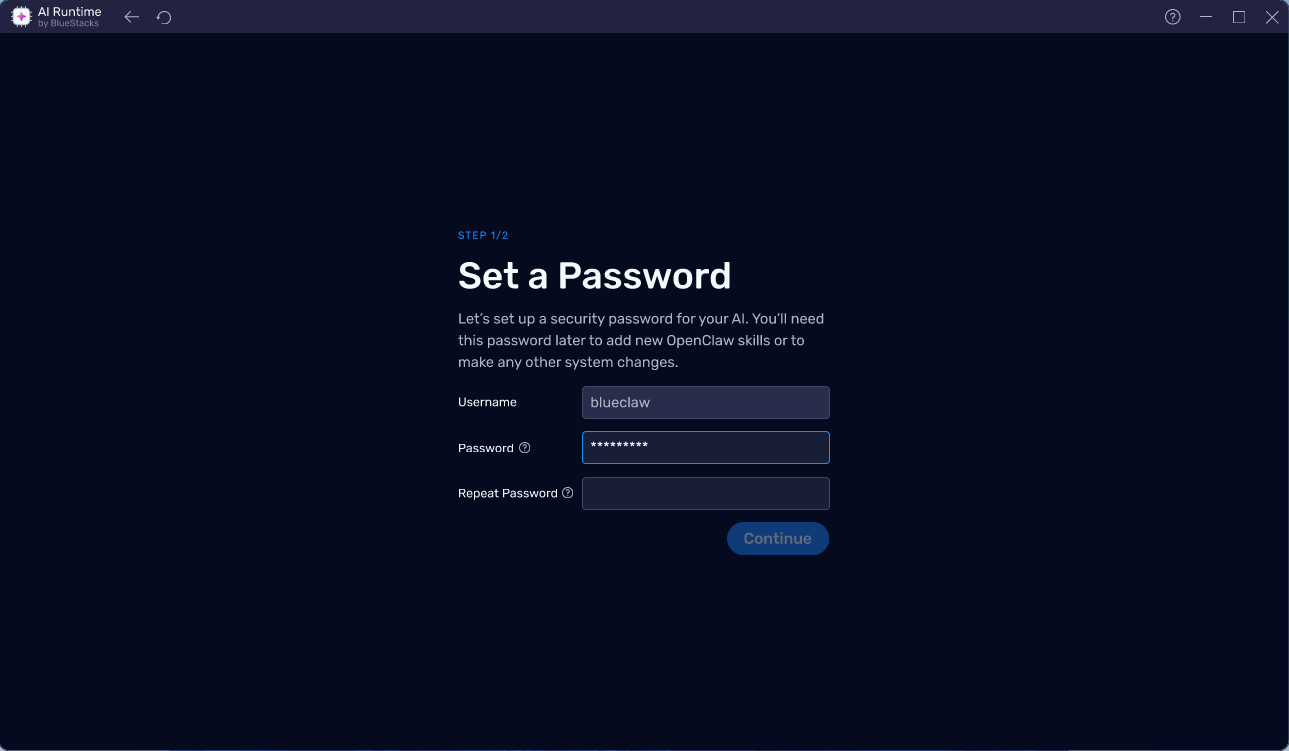
Step 4: Set your security password
Choose a password, confirm it, and click Continue.
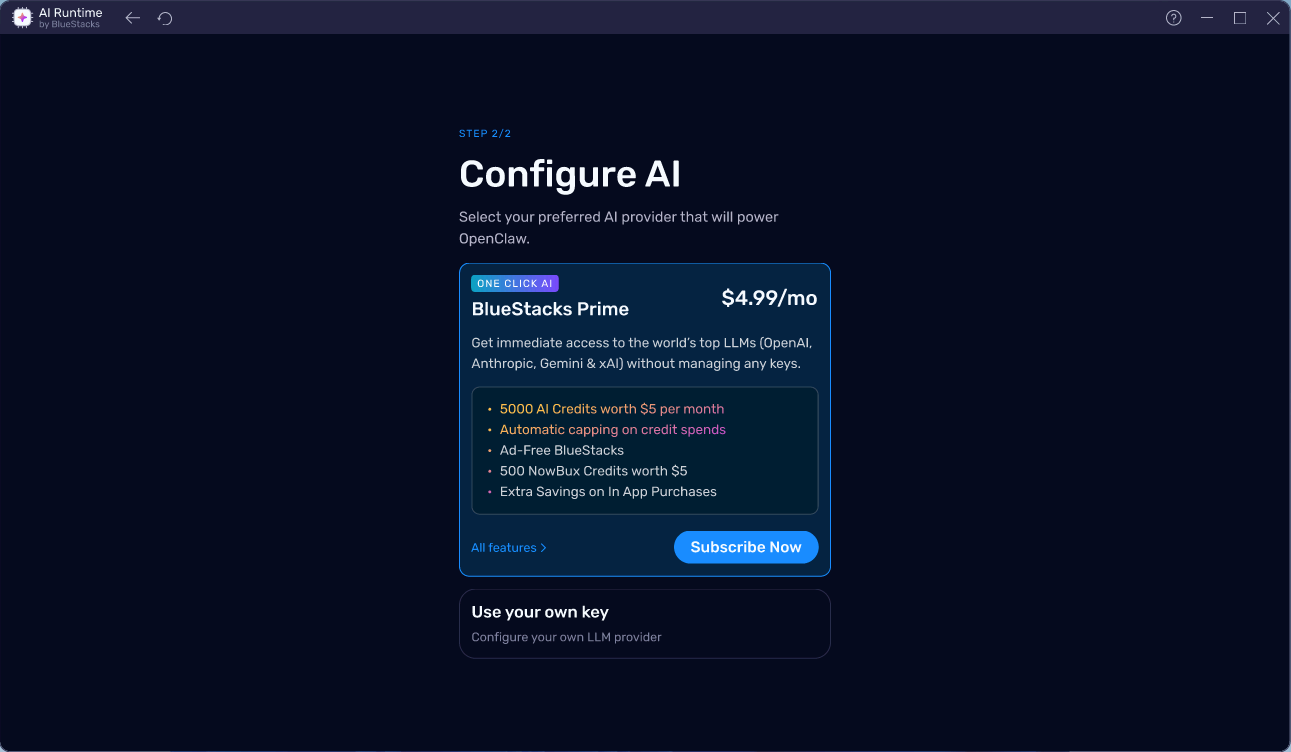
Step 5: Choose how to power OpenClaw
You have two options:
- BlueStacks Prime — one subscription covers everything. Includes 5,000 AI credits to get started.
- Use your own key — bring your own API key from any supported provider.
Note: BlueStacks Prime is currently available in select regions only.
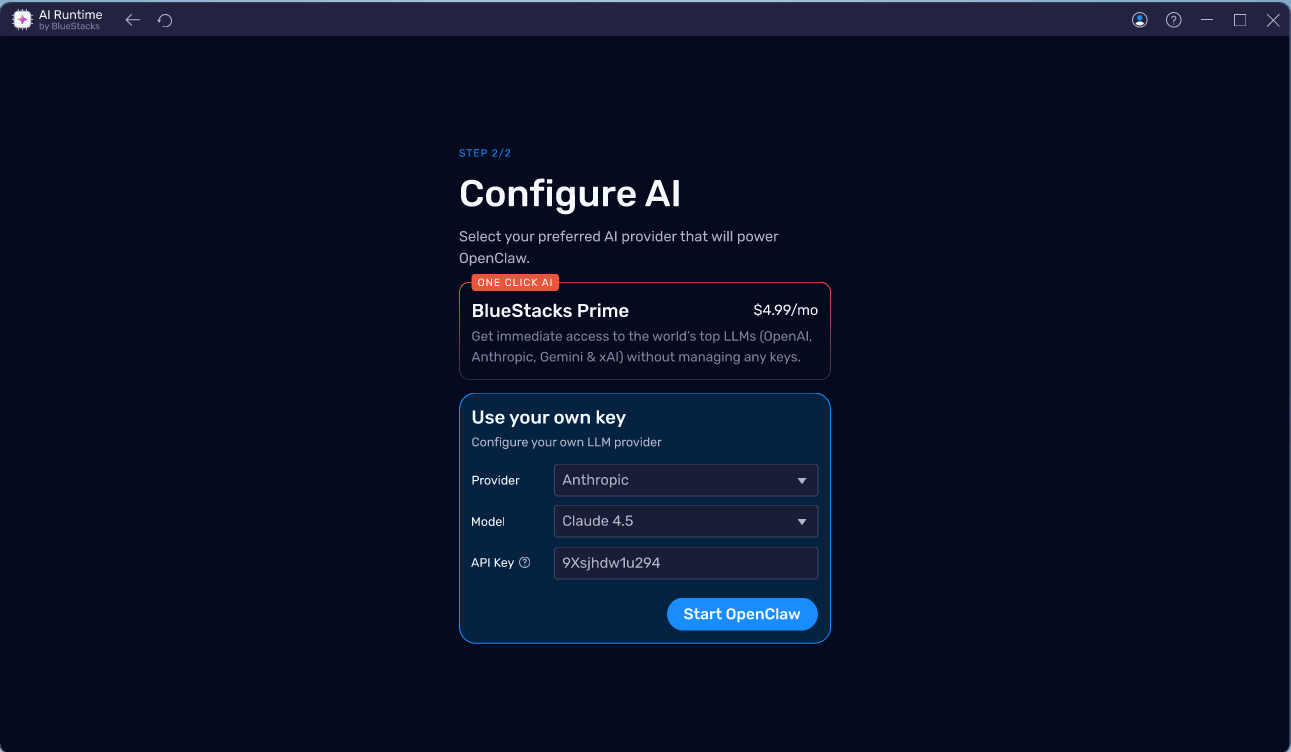
Step 6: Complete AI setup
- If you chose BlueStacks Prime: Sign in and complete the subscription flow. We recommend trying this!
- If you chose Use your own key: Select your provider and model, enter your API key, and click Start OpenClaw.
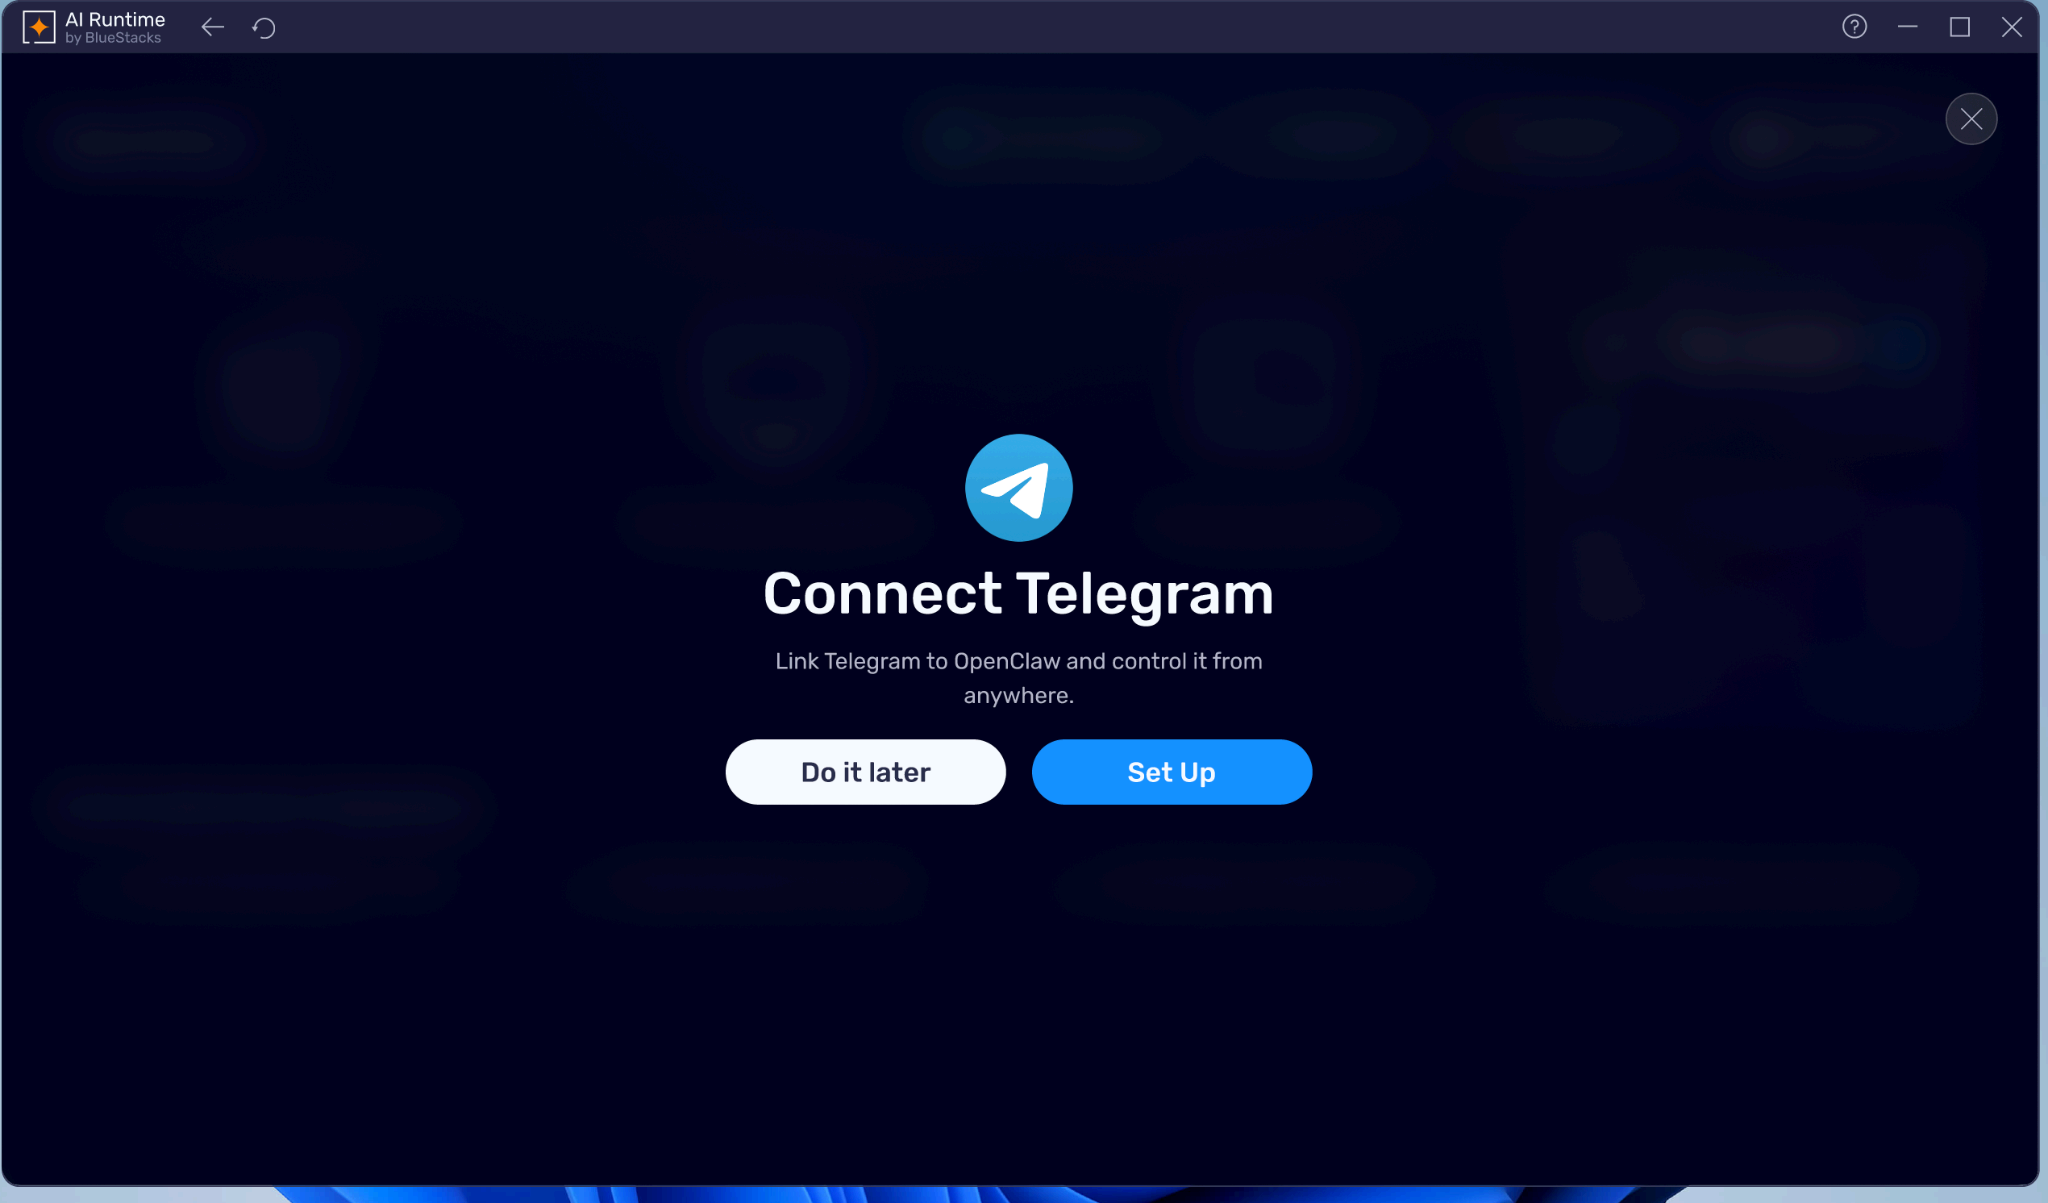
Step 7: Setup Telegram (optional)
It is best to create a bot on Telegram and connect OpenClaw to it. This will let you talk to OpenClaw from wherever you are just by chatting with it.
Part 1: Create a bot on Telegram
- Open Telegram: Search for Telegram's official @BotFather account and click on 'start'.
- Create a new bot: Send the command
/newbotin the chat to begin the creation process. - Name your bot: Give your new bot a display name, and then create a unique username that ends in "bot" (e.g., myawesome_bot).
- Copy the token: Once created, @BotFather will give you a secure token. Copy this text.
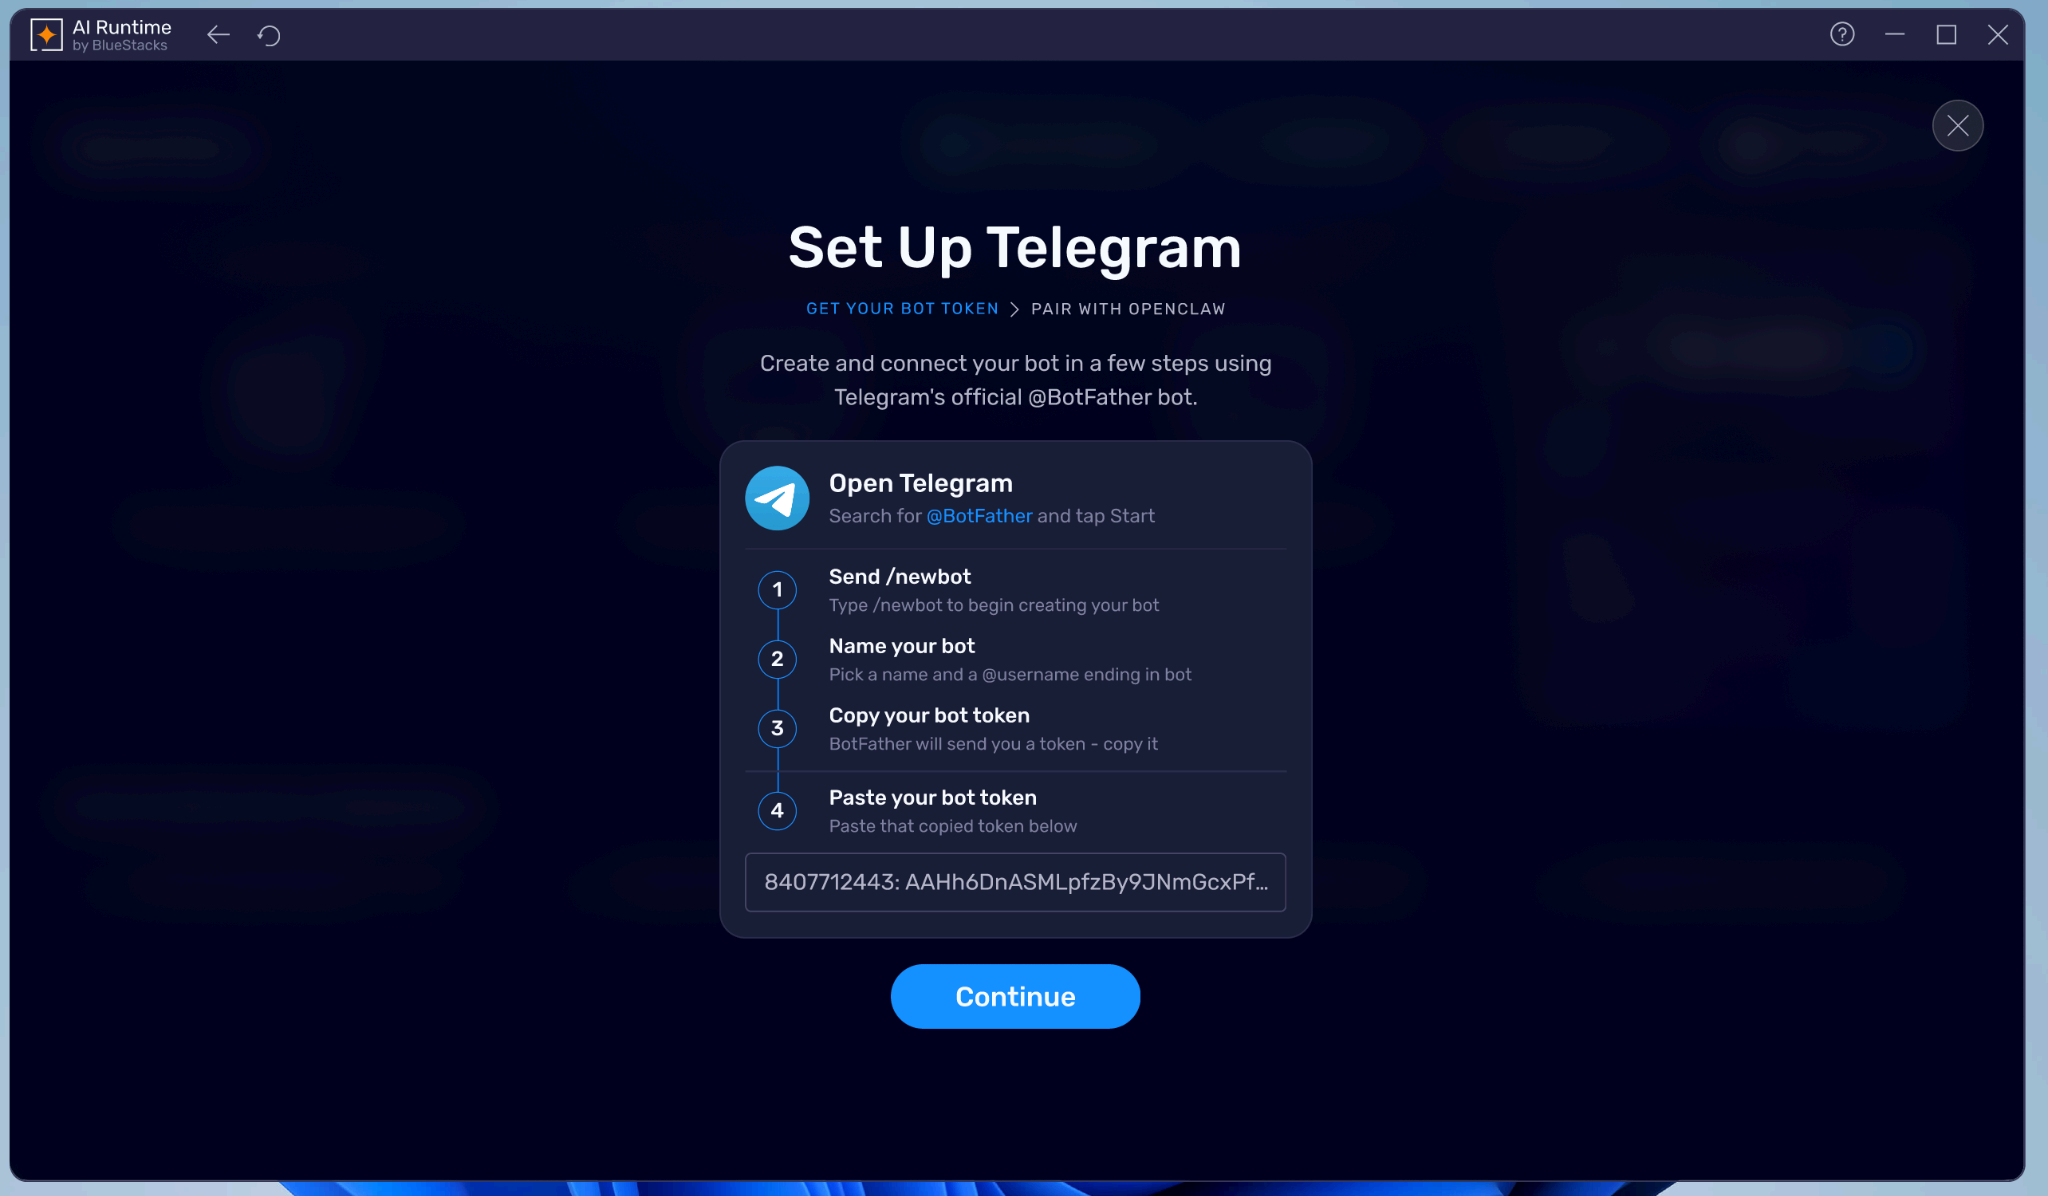
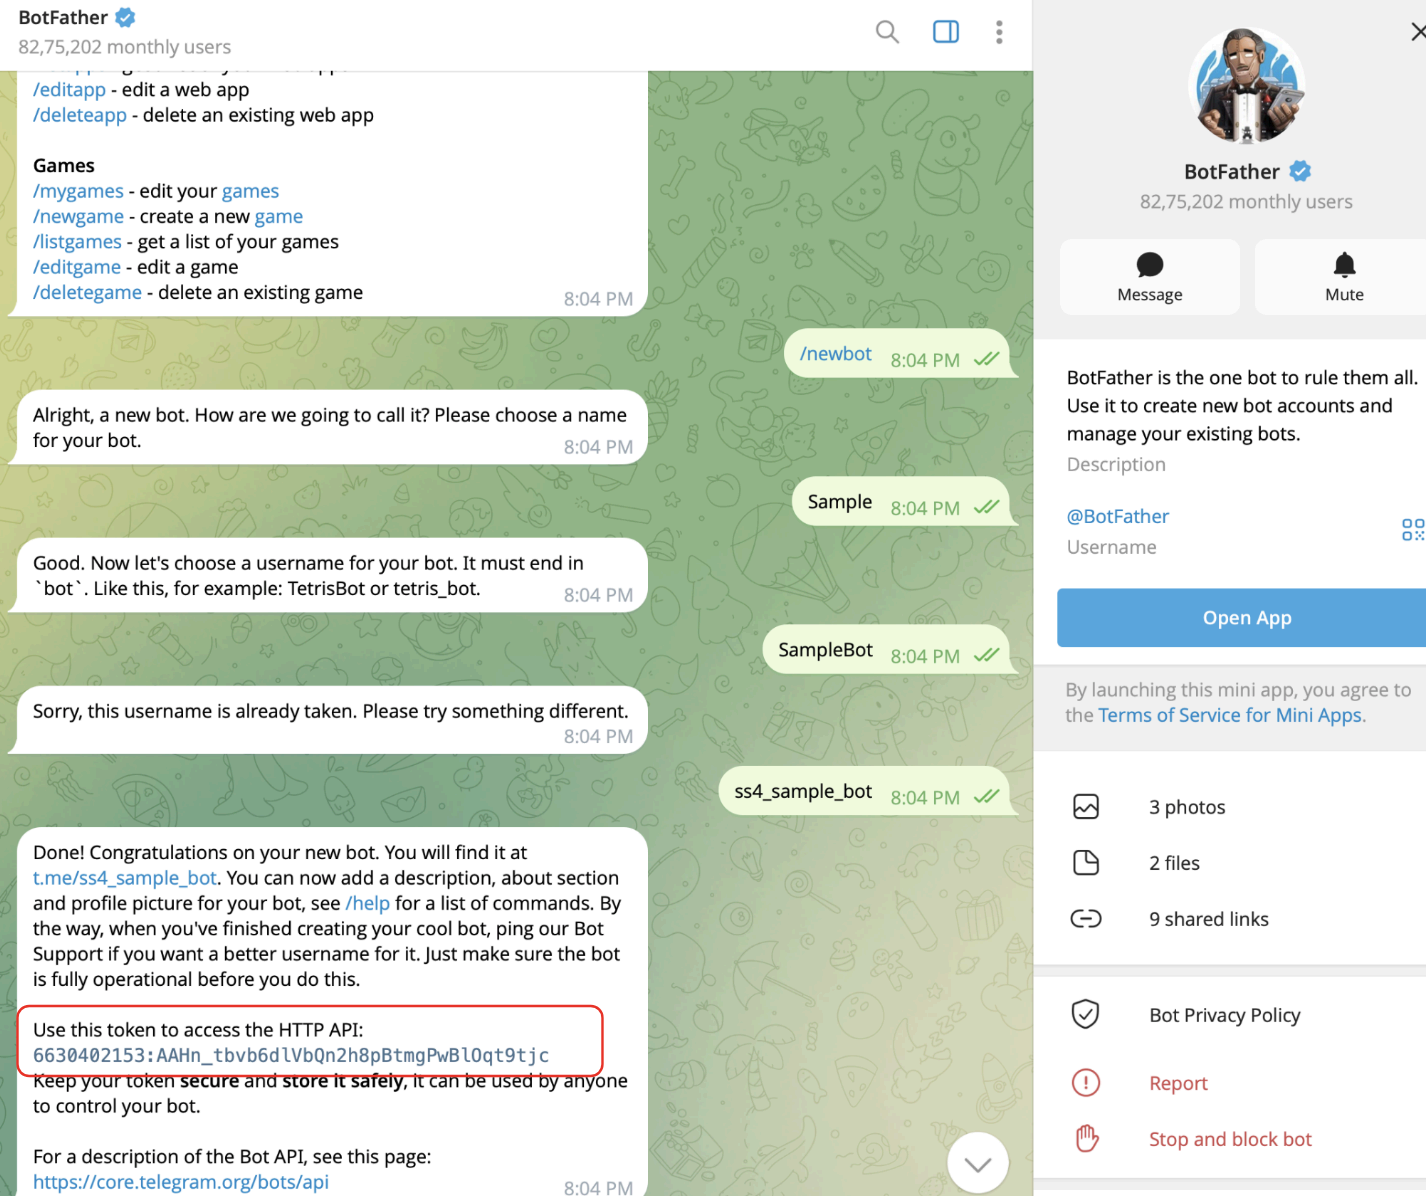
Paste and Continue: Paste the copied token into the OpenClaw setup screen and click Continue.
Note: Do not share this token with anyone.
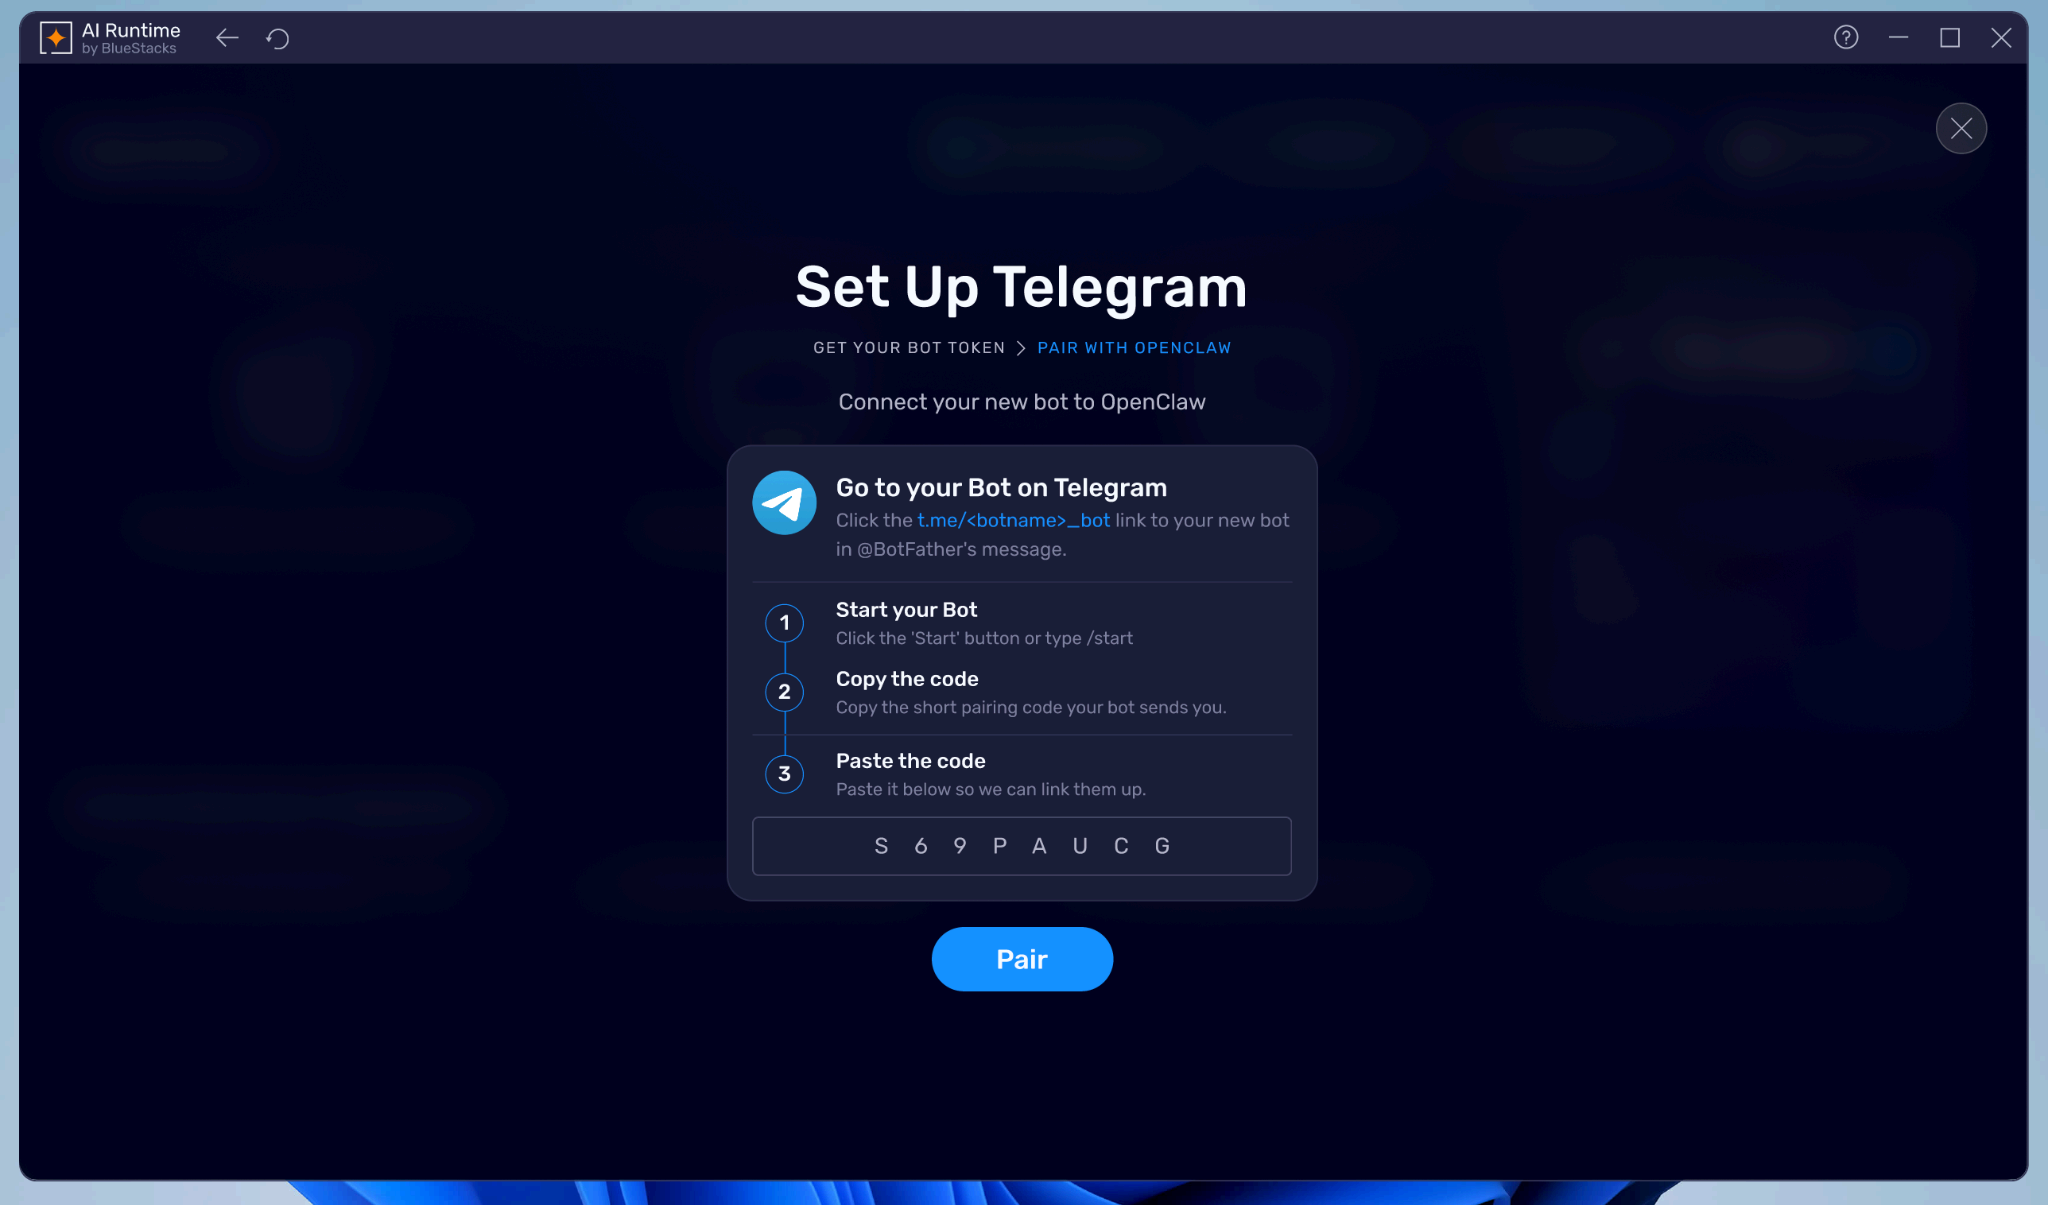
Part 2: Pair with your OpenClaw
- Go to your new bot: In Telegram, click the t.me/
_bot link provided in @BotFather's final message to open a chat with your newly created bot. - Start the bot: Click the Start button at the bottom of the screen, or type
/start. - Copy the pairing code: Your bot will instantly reply with a short pairing code. Copy this code.
- Paste the code: Paste it into the OpenClaw setup screen and click Pair to finish linking your bot.
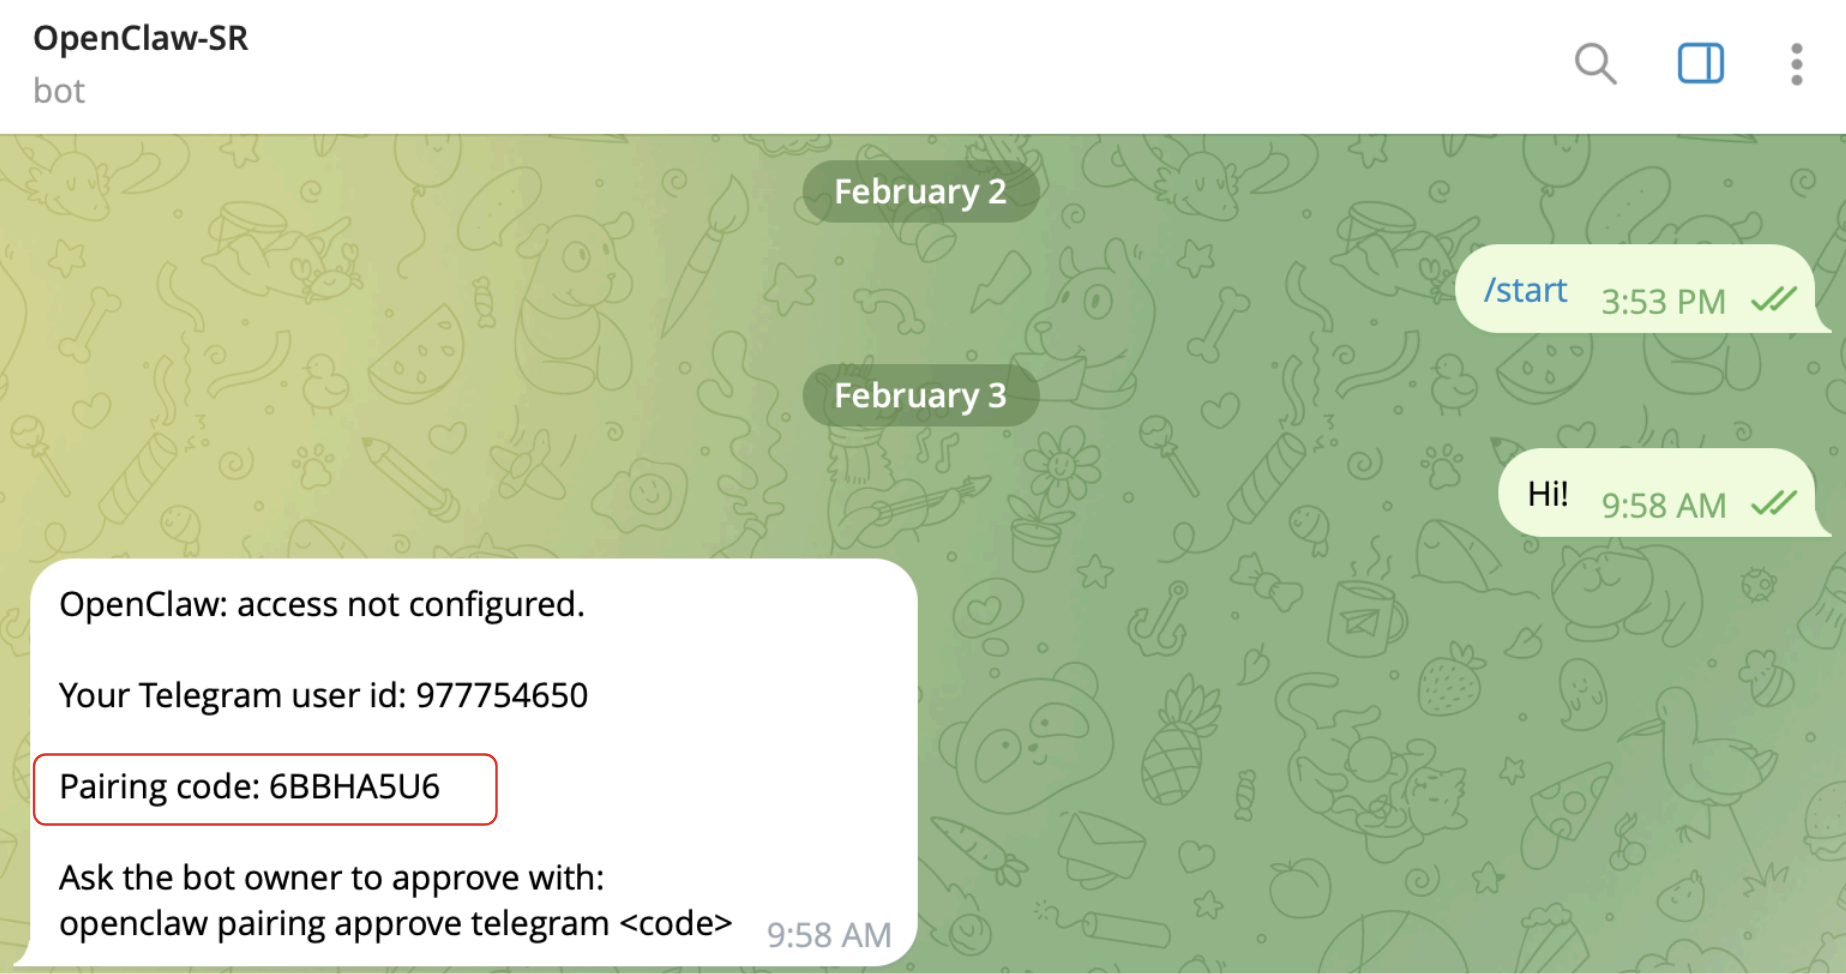
You can now start chatting with your OpenClaw directly from Telegram even if you're away from BlueStacks.
Note: If you'd like to set it up later, you can click on the Connect Telegram button from the top bar at any time.
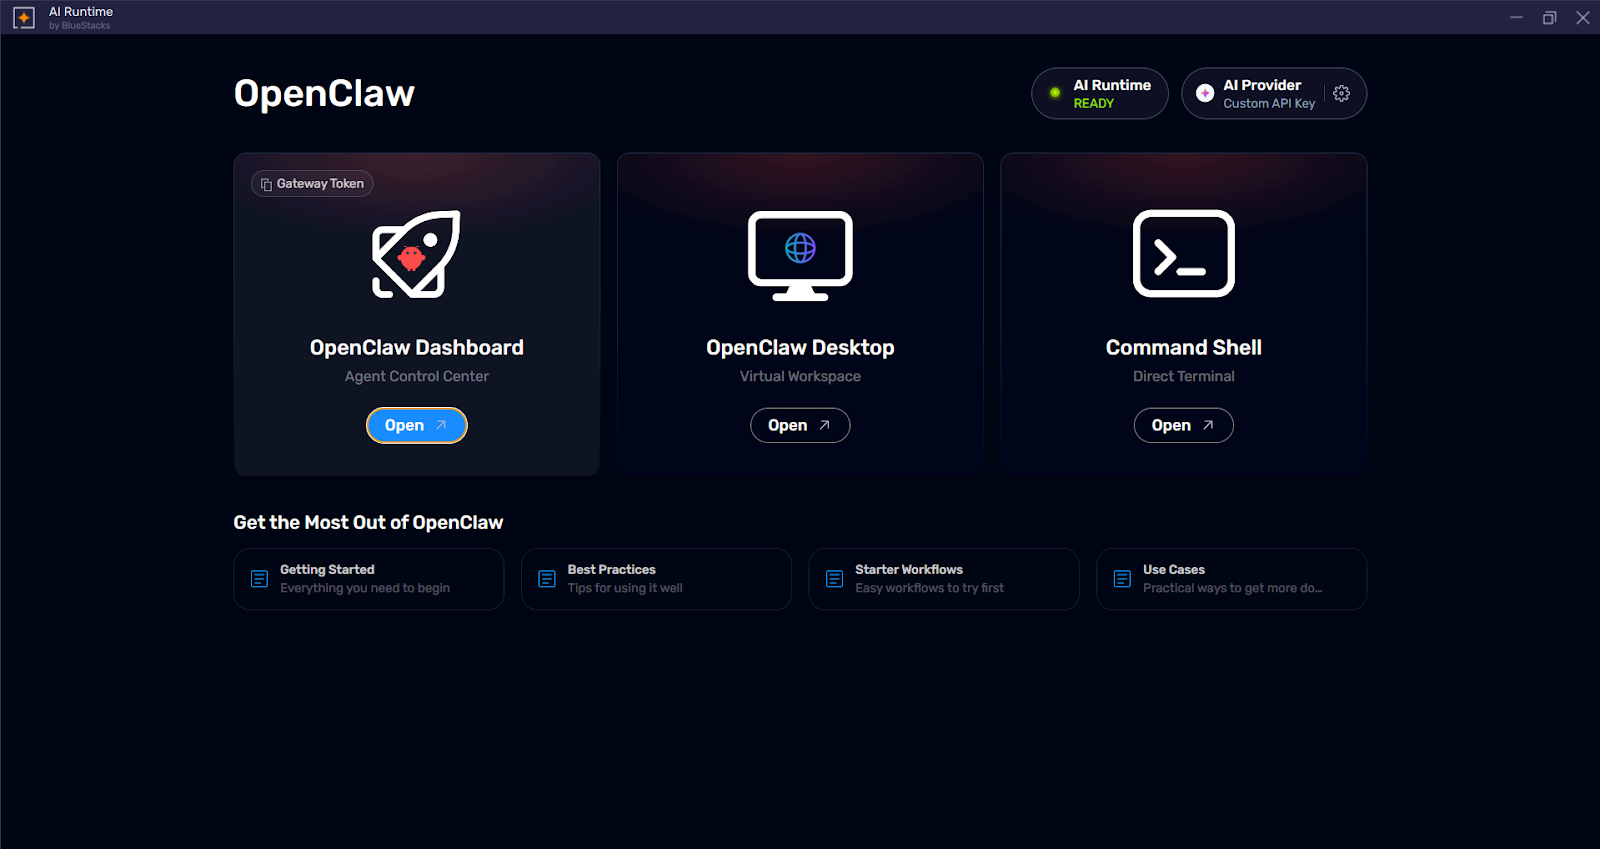
Step 8: Open OpenClaw Dashboard
On the AI Runtime home screen, click Open under OpenClaw Dashboard.
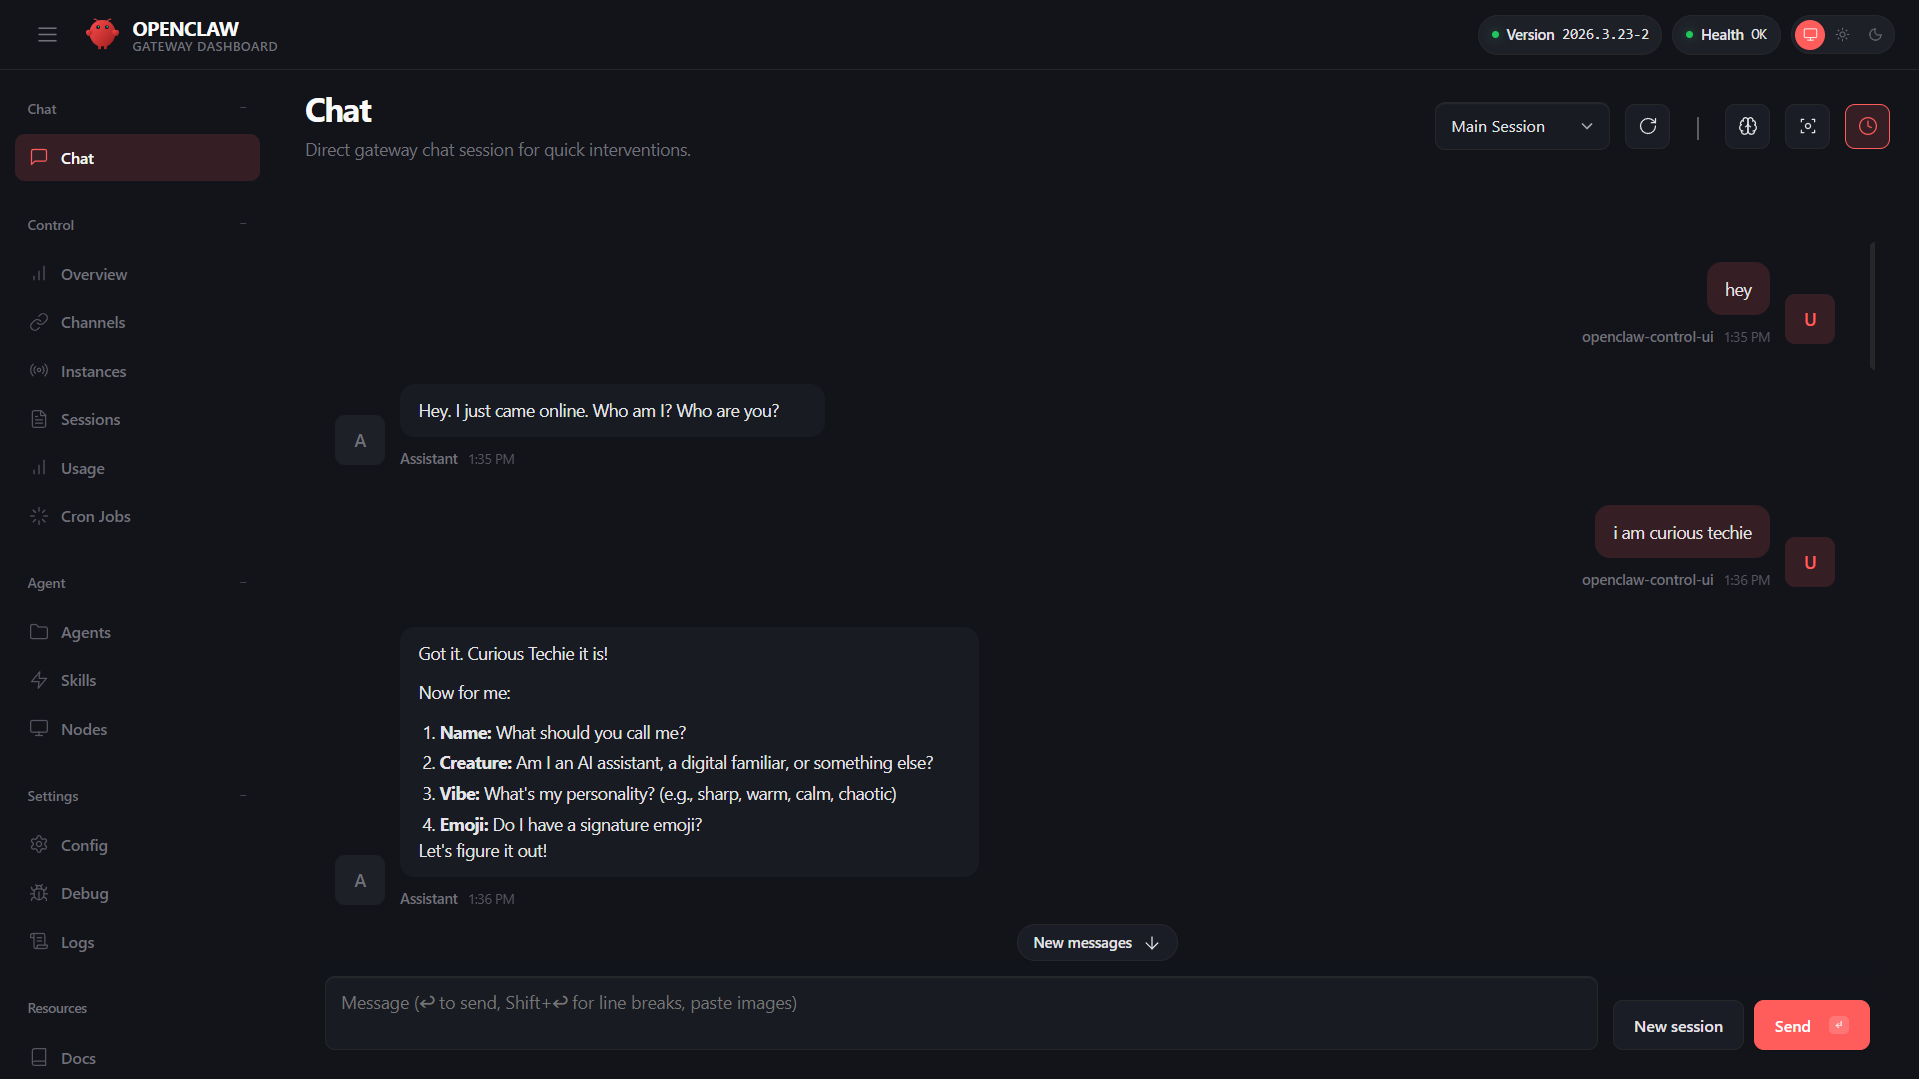
Step 9: Start using OpenClaw
You're all set! Go to the OpenClaw Chat window, say hello and start getting acquainted with your Agent.
Common Questions
Do I need to pay anything?
No. BlueStacks runtime is free. AI model costs depend on which model you choose — several have free tiers that are more than enough for personal use. Check your chosen model's pricing page for details.
Does it work when my PC is off?
No — OpenClaw runs locally on your PC, so it needs to be on with BlueStacks running in the background.
Is my data private?
Yes. Everything runs inside BlueStacks AI runtime on your machine. Your conversations are not sent to BlueStacks servers.
Can I use it on my phone?
Yes — through Telegram. OpenClaw runs on your PC but you can also chat with it from your phone via the Telegram bot.